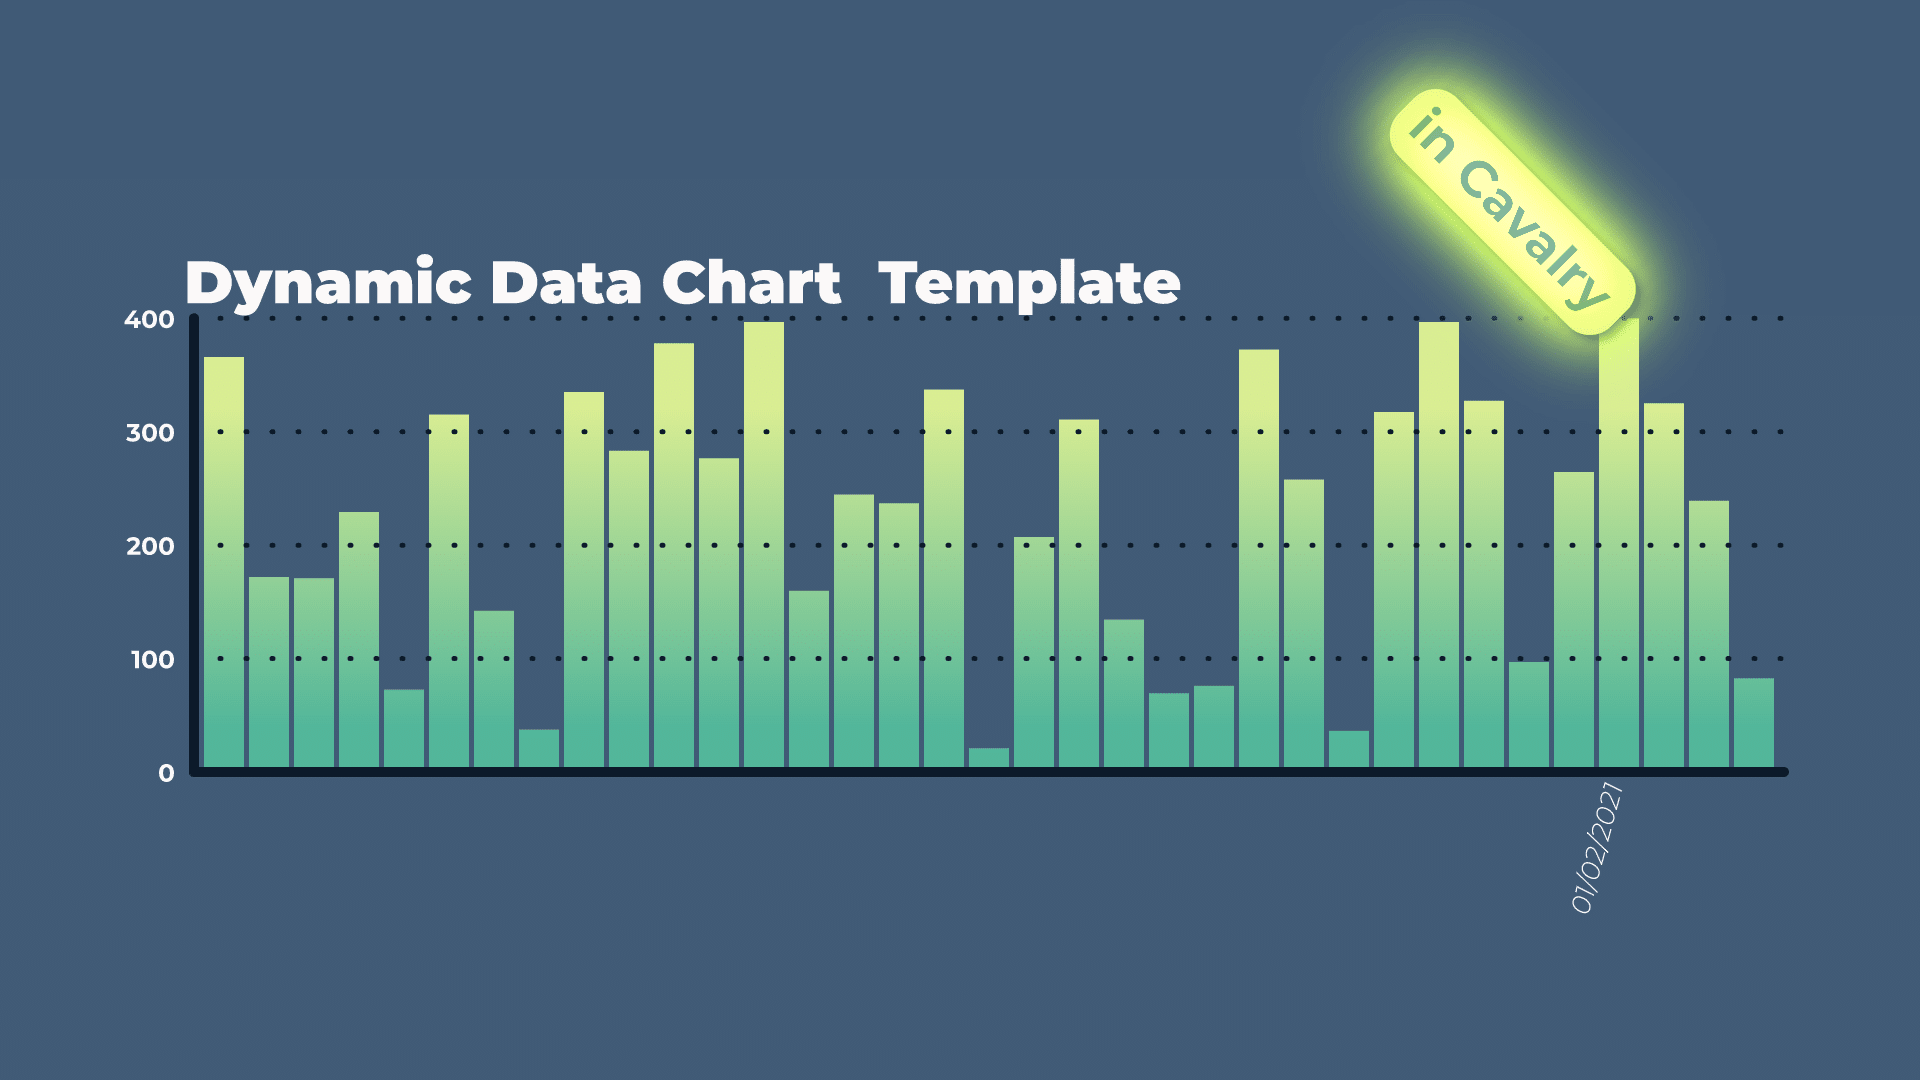
Tutorial 25: Creating Dynamic Data Charts Templates with CSV Data in Cavalry
This is a monster of a video – more than an hour long. It took a while to put together. In this tutorial, or more like a mini course, I will guide you step by step in creating a data chart template. We will use lots of tools to ensure that this rig is responsive and can be adapted to various screen resolutions.
Whole thing is driven only by 6 keyframes. I highly recommend purchasing Curves by Scenery script. This script will let you easily set custom Magic Easing curves. This will make it even more powerful – you will be able to easily retime the animation as needed, by simply moving the keyframes around, without worrying about losing your easing animation.
One tip of working with Cavalry that I can share with you, is to think about data and how you want to use it. Position Values are essentially data. Chart Dimensions are another set of data. If you think about it in these simple terms, then it makes it easier to set up something complex, yet responsive and adaptable to your needs. You take the data, modify it, use it somewhere else. It is as simple as that.
Dealing with CSV Data
One thing that I need to be point out is how Excel / Google Sheets / CSV data is displayed and used. For example, Excel, in the example image shows data as Rows. Top Row is our Label. Data Starts from Row 2.
In Cavalry, everything is Index based. Indexes start from 0. This makes it easy to make a mistake and try to recall data from the wrong field.
For example, 1st data point – 01/01/2021 is on Row 2. In Cavalry, this will be read as Index 0. Row 1 will be used as our Data Label. Keep this in mind, if you are setting up templates and you want recal specific data point, for example some date in July and so on.

Value Array = Master Controller
I use Value Arrays as a Mater Controller to simply link and control number of values in a given scene. I like to do it this way, as I tend to create a Null in after effects and populate it with Sliders, Angle Controllers, Check Boxes and so on.
Another method of doing this in Cavalry is to use Control Center instead. There is no right or wrong way – use what makes the most sense to you.
Organise, Group, Rename
You will notice in this video, that I rename everything, group it, colour code it with the layer colours and so on. This makes it accessible and easy to organise large scenes. In complex setups, this is necessary, or you will quickly get lost and may create errors in your set up or unwanted problems.
You should get in a habbit of parenting relevant controllers under layers that they are affecting.
For example:
- Rectangle
- Align
- Value Blend
- Duplicator
- Align
- Sub-Mesh
- Value Array on Dash Pattern
- Comparison Node
- String Generator
- And so on
- Comparison Node
- Value Array on Dash Pattern
This makes it easy to see, what is affected by what modifier. Essentially, you are building a hierarchy and trying to create some sense of structure in your setup. There is nothing worse, than coming back to your template or set up few months down the line and not being able to make sense how things are working 🙂
Reuse, Relink, Reduce
In few instances, I ended up reusing single modifier across multiple layers. Mainly Master Controller (Value Array) and Position Controller (Null). This makes an efficient rig – less layers, easier to navigate the whole thing.
Additionally, you can easily change how things are looking or behaving, by modifying 1 node. For example, I ended up reusing Comparison and Linear Distribution nodes in few places. This made it easier in setting up complex rig, as I was able to set up node the way I wanted, and reuse it’s data accross other layers.
Expressions
Expressions in Cavalry work a bit different than in After Effects. You can only add an expression, if you have value / node / connection coming into the property you want to modify. For example, Shape Scale. You need to “feed” something into this field, then you can add expression.
Start with simple expressions, such as multiplication, division and so on. For more complex stuff, you should be able to simply use existing layers and nodes in Cavalry to achieve what you need. For example, converting one set of values, into another set of values – you can do this with a Number Range node 🙂
This project file contains all the assets necessary to make animation in the tutorial in final form. Everything is labeled, linked, with expressions and ready to use, if you wish to make your own version or just play around with it.
If you have any suggestions for tutorials or how I can improve, please do get in touch. I would love to hear from you.